Uploading photos doesn’t have to be confusing. Whether you’re sharing vacation snaps, sending work documents with images, or posting to social media, the process is usually simple-if you know where to look. Most people struggle not because the tech is hard, but because the options are scattered across apps, browsers, and devices. Let’s cut through the noise and show you exactly how to do it on the most common platforms today.
If you’re looking for something completely different, like an erotic massage dubai experience, that’s a separate world entirely. But if you’re here to get your photos online, we’ve got you covered.
Uploading Photos from Your Phone
Phones are the most common way people take and share photos. Here’s how to upload them from iOS and Android.
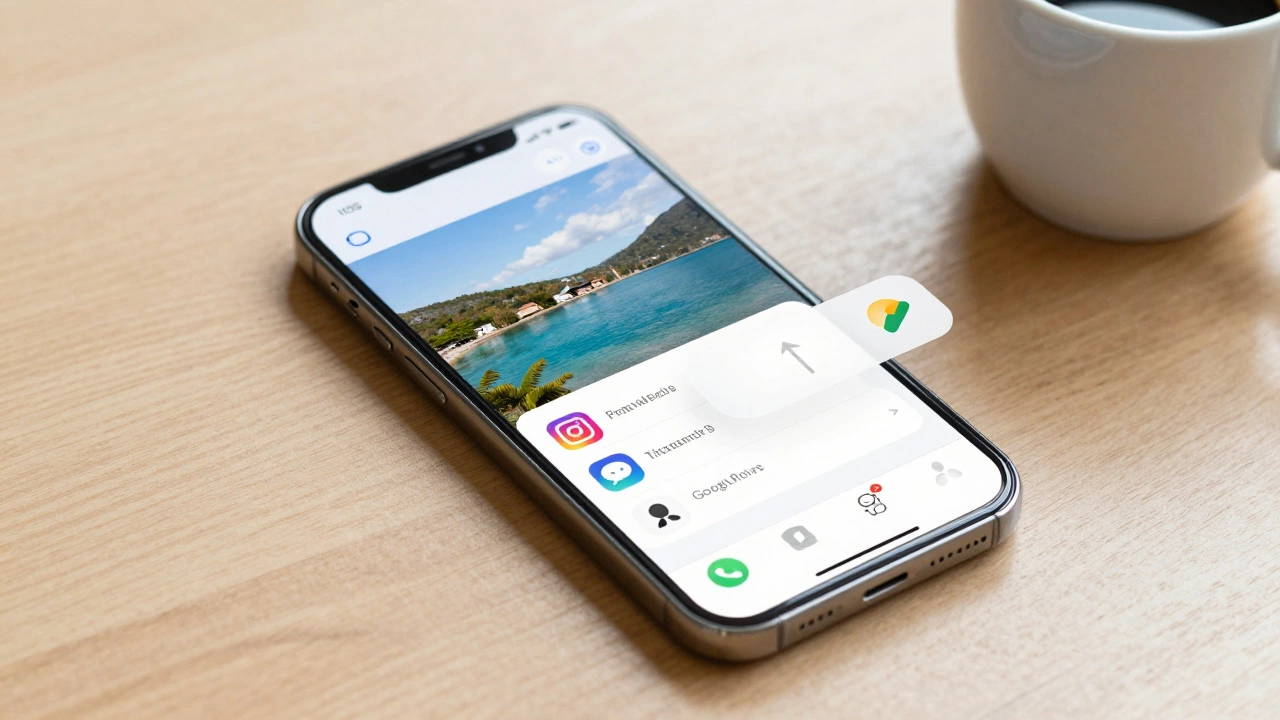
On iPhone: Open the Photos app, find the image you want to share, tap the share button (the square with an arrow pointing up), then pick where you want to send it. Want to post to Instagram? Tap Instagram. Sending to a friend via Messages? Tap Messages. Uploading to Google Drive? Tap Copy to Files, then open the Drive app and paste it there.
On Android: Open your Gallery or Google Photos app. Long-press the photo to select it, then tap the share icon (usually a paper airplane or three dots). From there, you’ll see a list of apps installed on your phone that can receive files-like WhatsApp, email, Dropbox, or Facebook. Tap the one you want. If you don’t see the app you need, tap "More" to see all options.
Pro tip: If your photo won’t upload, check your internet connection. A weak Wi-Fi signal or slow mobile data can stall the process. Try switching from mobile data to Wi-Fi, or vice versa. Also, make sure the app you’re uploading to has permission to access your photos. You can check this in Settings > Apps > [App Name] > Permissions.
Uploading Photos from Your Computer
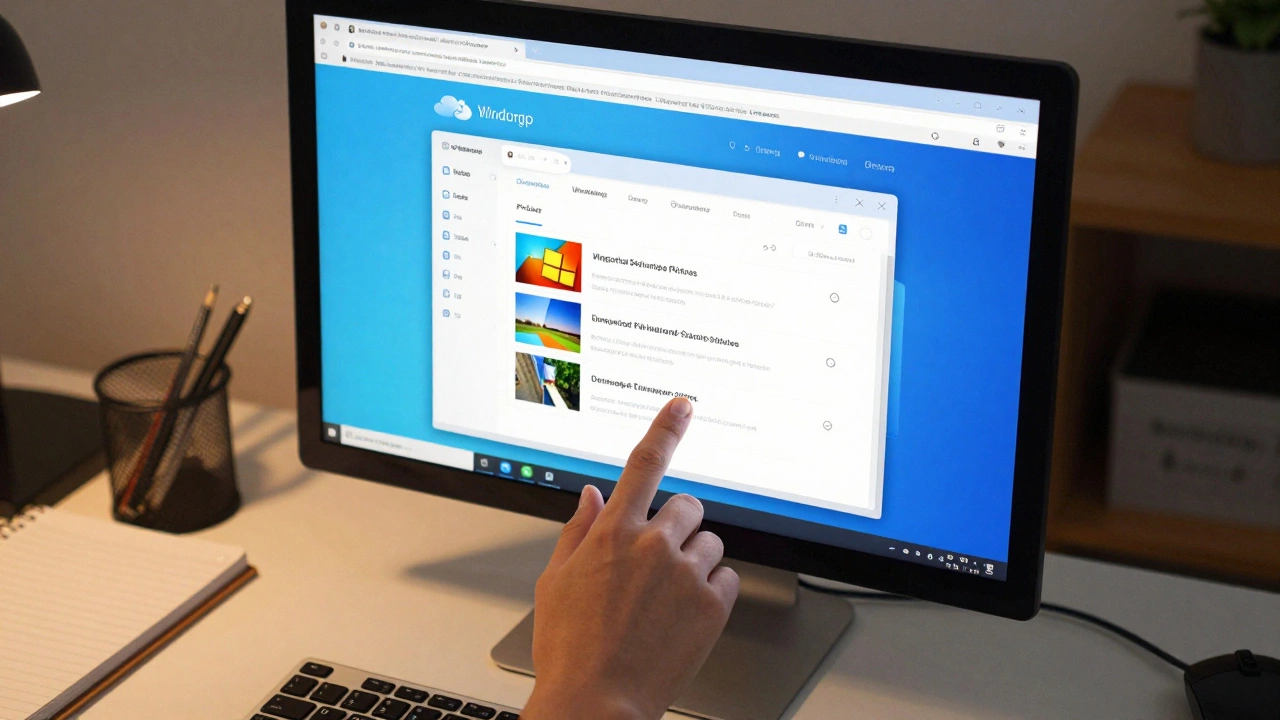
On a desktop or laptop, uploading photos is usually done through a web browser. The steps are similar across sites like Facebook, Google Photos, or Dropbox.
Open your browser and go to the website where you want to upload. Look for a button that says "Upload," "Add Photos," or has a cloud icon with a plus sign. Click it. A file browser window will pop up. Navigate to where your photos are saved-usually in the Pictures folder on Windows or the Photos folder on Mac. Select one or multiple photos (hold Ctrl or Cmd to pick several), then click Open.
Some sites let you drag and drop photos directly onto the page. Just open the folder with your images, click and hold one, drag it over the upload area on the website, and let go. It’s faster than clicking through menus.
For large batches, use Google Photos’ desktop uploader. Download it from photos.google.com/settings, install it, and point it to your photo folder. It automatically backs up new images as they appear. No manual clicking needed.
What to Do When Uploads Fail
Photos sometimes won’t upload. Here’s why-and how to fix it.
- File too big? Most platforms limit uploads to 25MB per photo. If your photo is larger (like from a DSLR camera), resize it. On Windows, right-click the file > Edit > Resize. On Mac, open it in Preview > Tools > Adjust Size. Reduce the pixel dimensions to 1920x1080 or lower.
- Wrong file type? Stick to JPG or PNG. Some apps reject HEIC (iPhone’s default) or RAW files. Convert them using free tools like CloudConvert or Preview (Mac).
- App crashes? Restart the app. If it keeps crashing, uninstall and reinstall it. Corrupted cache files are often the culprit.
- Storage full? Check your cloud storage limit. Google Photos gives 15GB free. If you’re over, delete old photos or upgrade.
Best Practices for Organizing Your Uploads
Don’t just dump hundreds of photos into one folder. It becomes a mess fast.
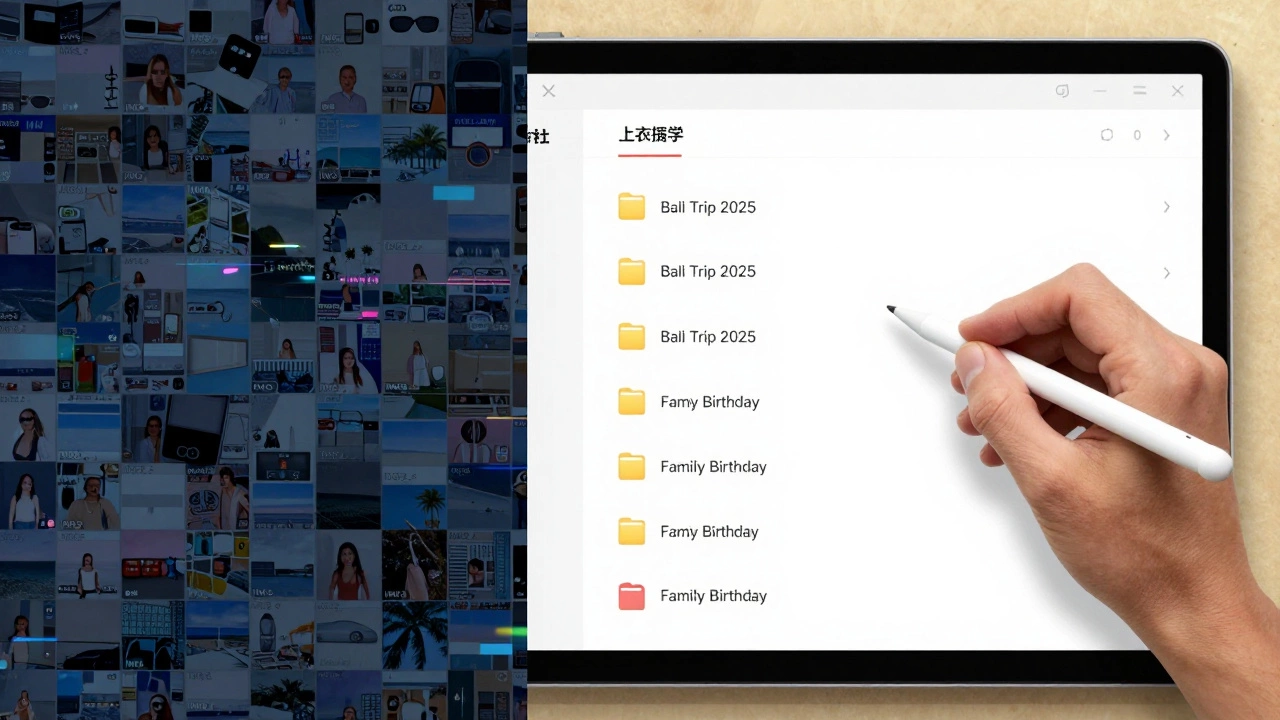
- Name your files clearly: "FamilyTrip_Bali_2025-06-12.jpg" instead of "IMG_4829.jpg".
- Use folders by date or event: "Vacation 2025", "Work Project April", "Kids Birthday".
- Back up your originals. Use an external hard drive or cloud service like iCloud, OneDrive, or Amazon Photos. Don’t rely on just one copy.
- Delete duplicates. Tools like Duplicate Cleaner (Windows) or Gemini Photos (Mac) find and remove exact copies.
Organized photos save you hours later. Imagine trying to find that one picture of your dog at the beach from last summer-without folders or names. It’s a nightmare.
Privacy and Security Tips
Not every photo should go online. Avoid uploading images with:
- License plates, house numbers, or street signs
- Children’s full names or school uniforms
- Documents with personal info (IDs, bills, receipts)
- Location tags enabled (turn off geotagging in your camera settings)
On Instagram or Facebook, use privacy settings to control who sees your posts. Set them to "Friends Only" if you’re not comfortable with the public seeing your life.
And remember: once you upload something, you lose control. Even if you delete it later, someone might have already saved or shared it.
Quick Reference: Upload Checklist
- ✅ Pick the right app or website
- ✅ Check file size and format (JPG/PNG under 25MB)
- ✅ Ensure internet connection is stable
- ✅ Grant photo access to the app if prompted
- ✅ Rename and organize files before uploading
- ✅ Turn off location tags
- ✅ Back up originals before deleting from device
Follow this checklist every time, and you’ll avoid 90% of upload problems.
Why This Matters Beyond Just Sharing
Uploading photos isn’t just about posting cute pics. It’s part of how we document our lives, share work, and stay connected. Professionals use it to showcase portfolios. Parents use it to keep grandparents in the loop. Small businesses rely on it to sell products. Knowing how to do it right saves time, reduces stress, and protects your privacy.
And if you ever need to relax after a long day-maybe after uploading a hundred photos-you might consider something like a body to body massage. Not for the photos, but for the peace.
Some people search for erotic massage as a way to unwind, but that’s not what this guide is about. Stick to the tech, and let the rest stay separate.
Maverick Callahan
Hi, my name is Maverick Callahan, and I'm a sports enthusiast with a particular passion for soccer. I've spent years analyzing matches, studying team dynamics, and understanding the nuances of the beautiful game. As a writer, I enjoy sharing my insights and perspectives with fellow soccer fans through engaging articles and thought-provoking discussions. My goal is to help others appreciate the sport as much as I do and to contribute to the global soccer community in a meaningful way.